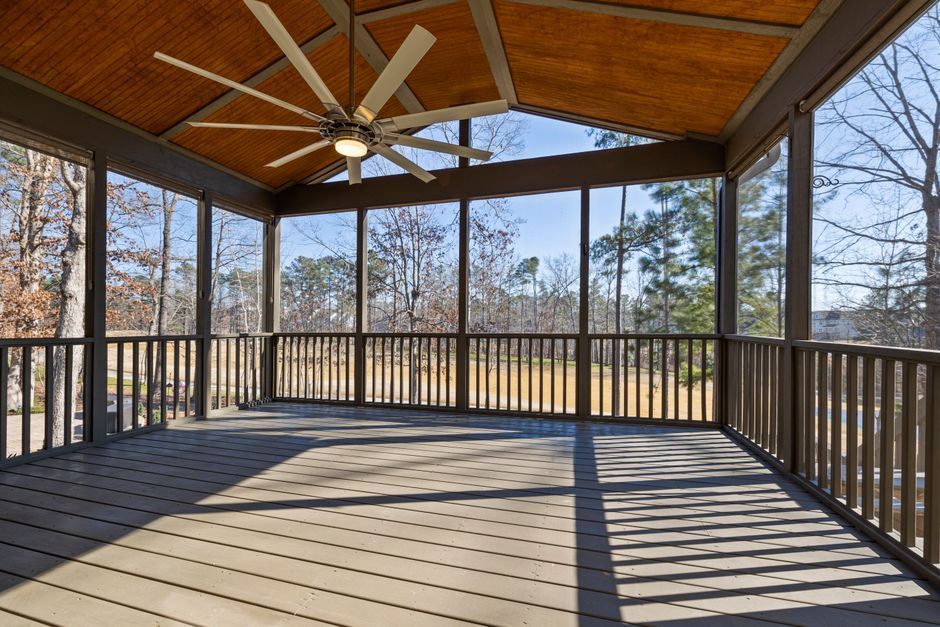
Post-Restoration Cleanup Tips for Homeowners

John Belizario • May 16, 2025

Restoring your home after a renovation, flood, or fire is a huge milestone — but the work isn’t finished yet. A deep post-restoration cleanup is essential to clear hidden dust, eliminate hazards, and make your space truly safe and livable.

In this guide, we’ll walk you through simple, effective tips to handle post-restoration cleaning like a pro. Keep reading to make sure your newly restored home is fresh, healthy, and ready for you to enjoy.

Why Post-Restoration Cleanup Matters

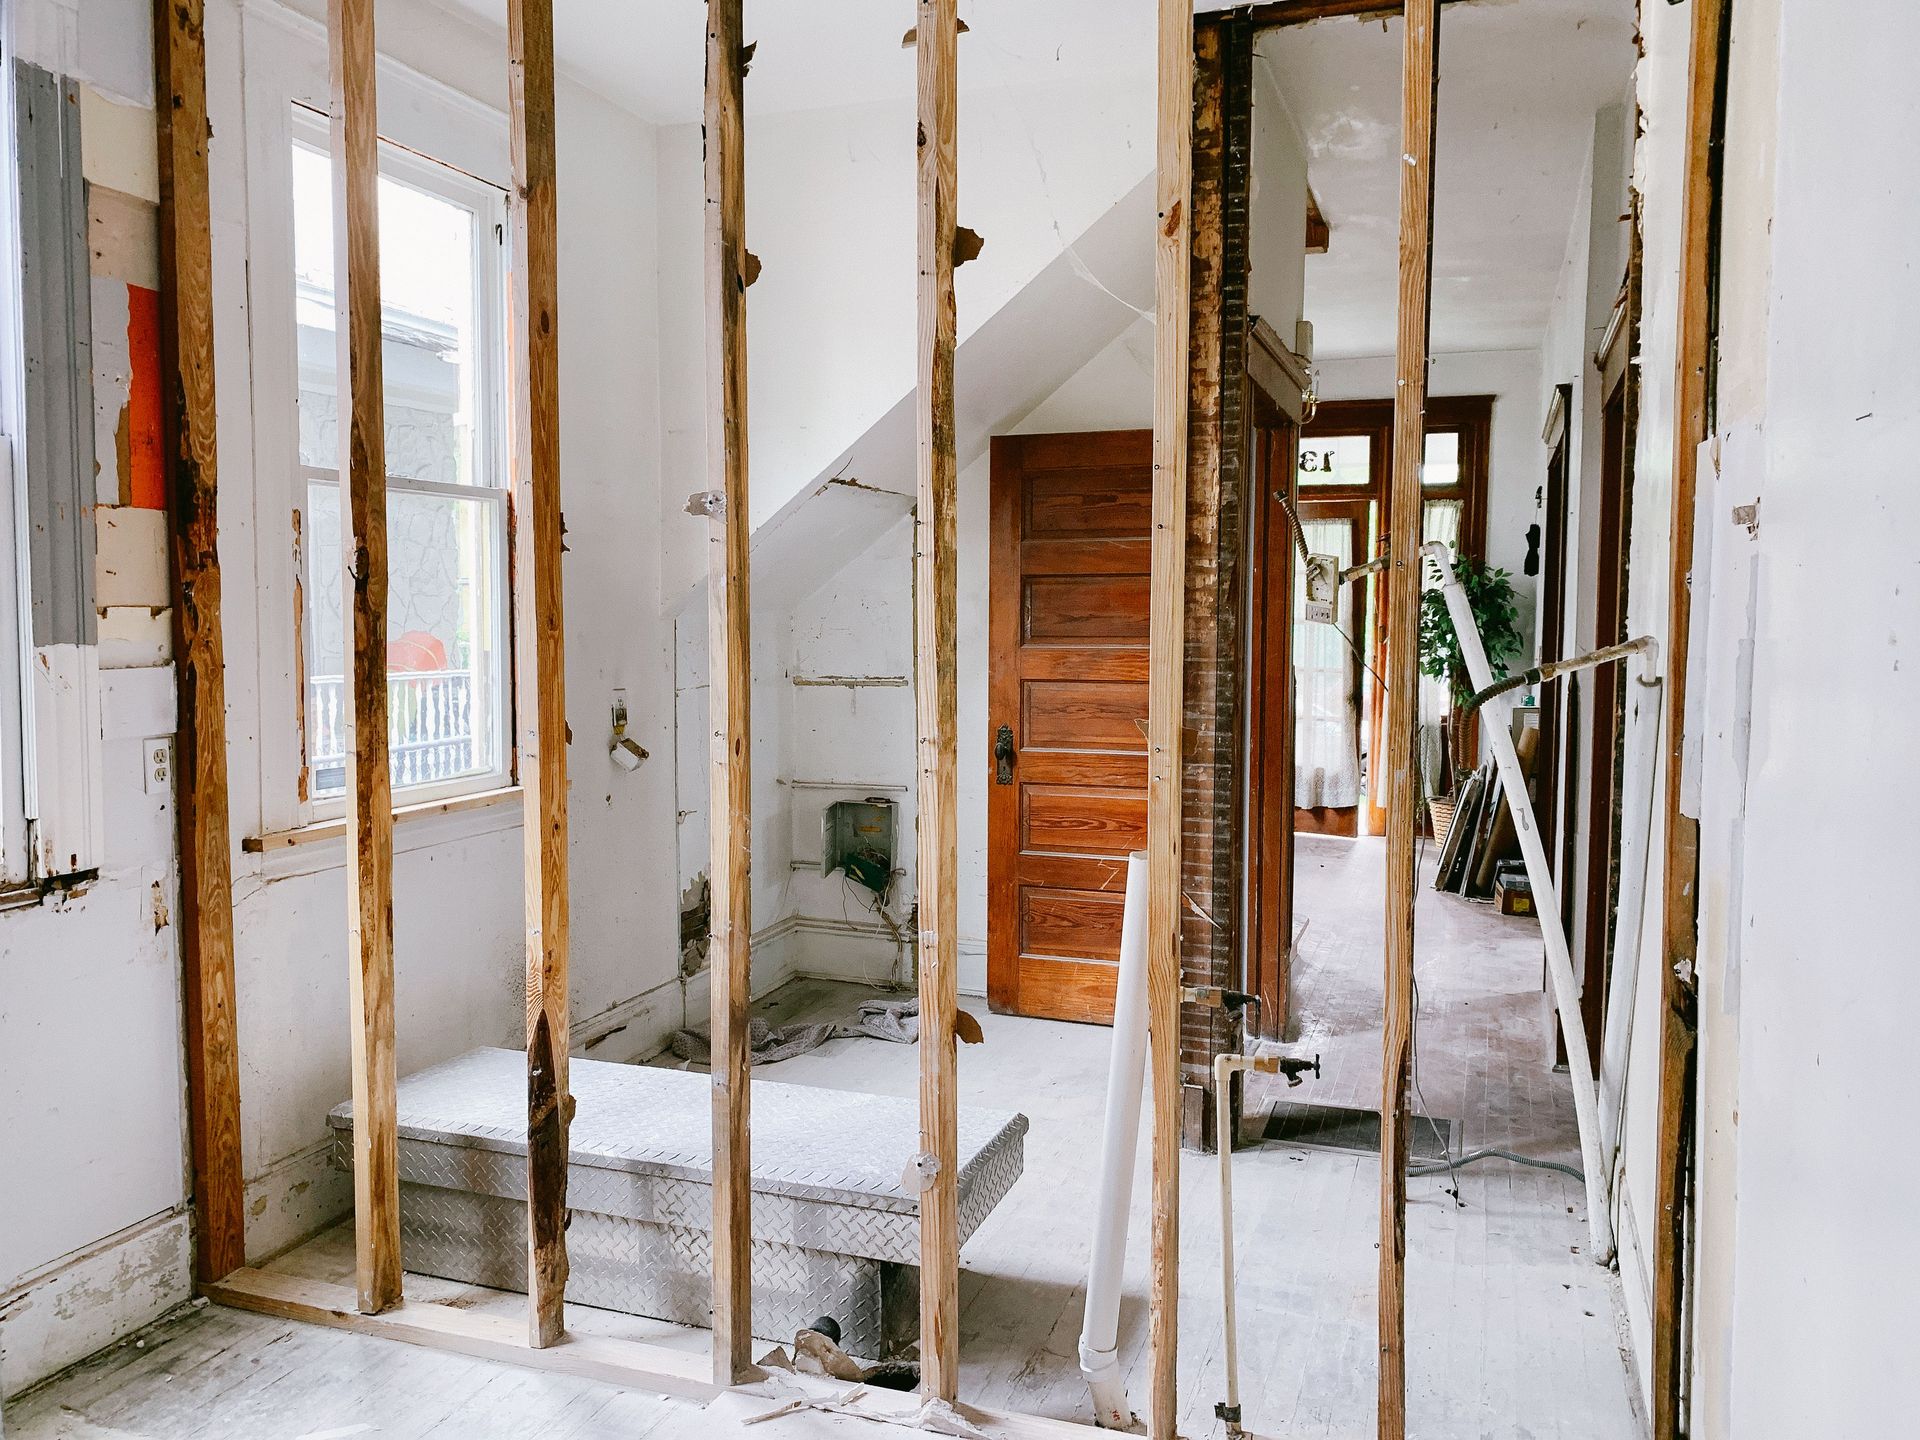
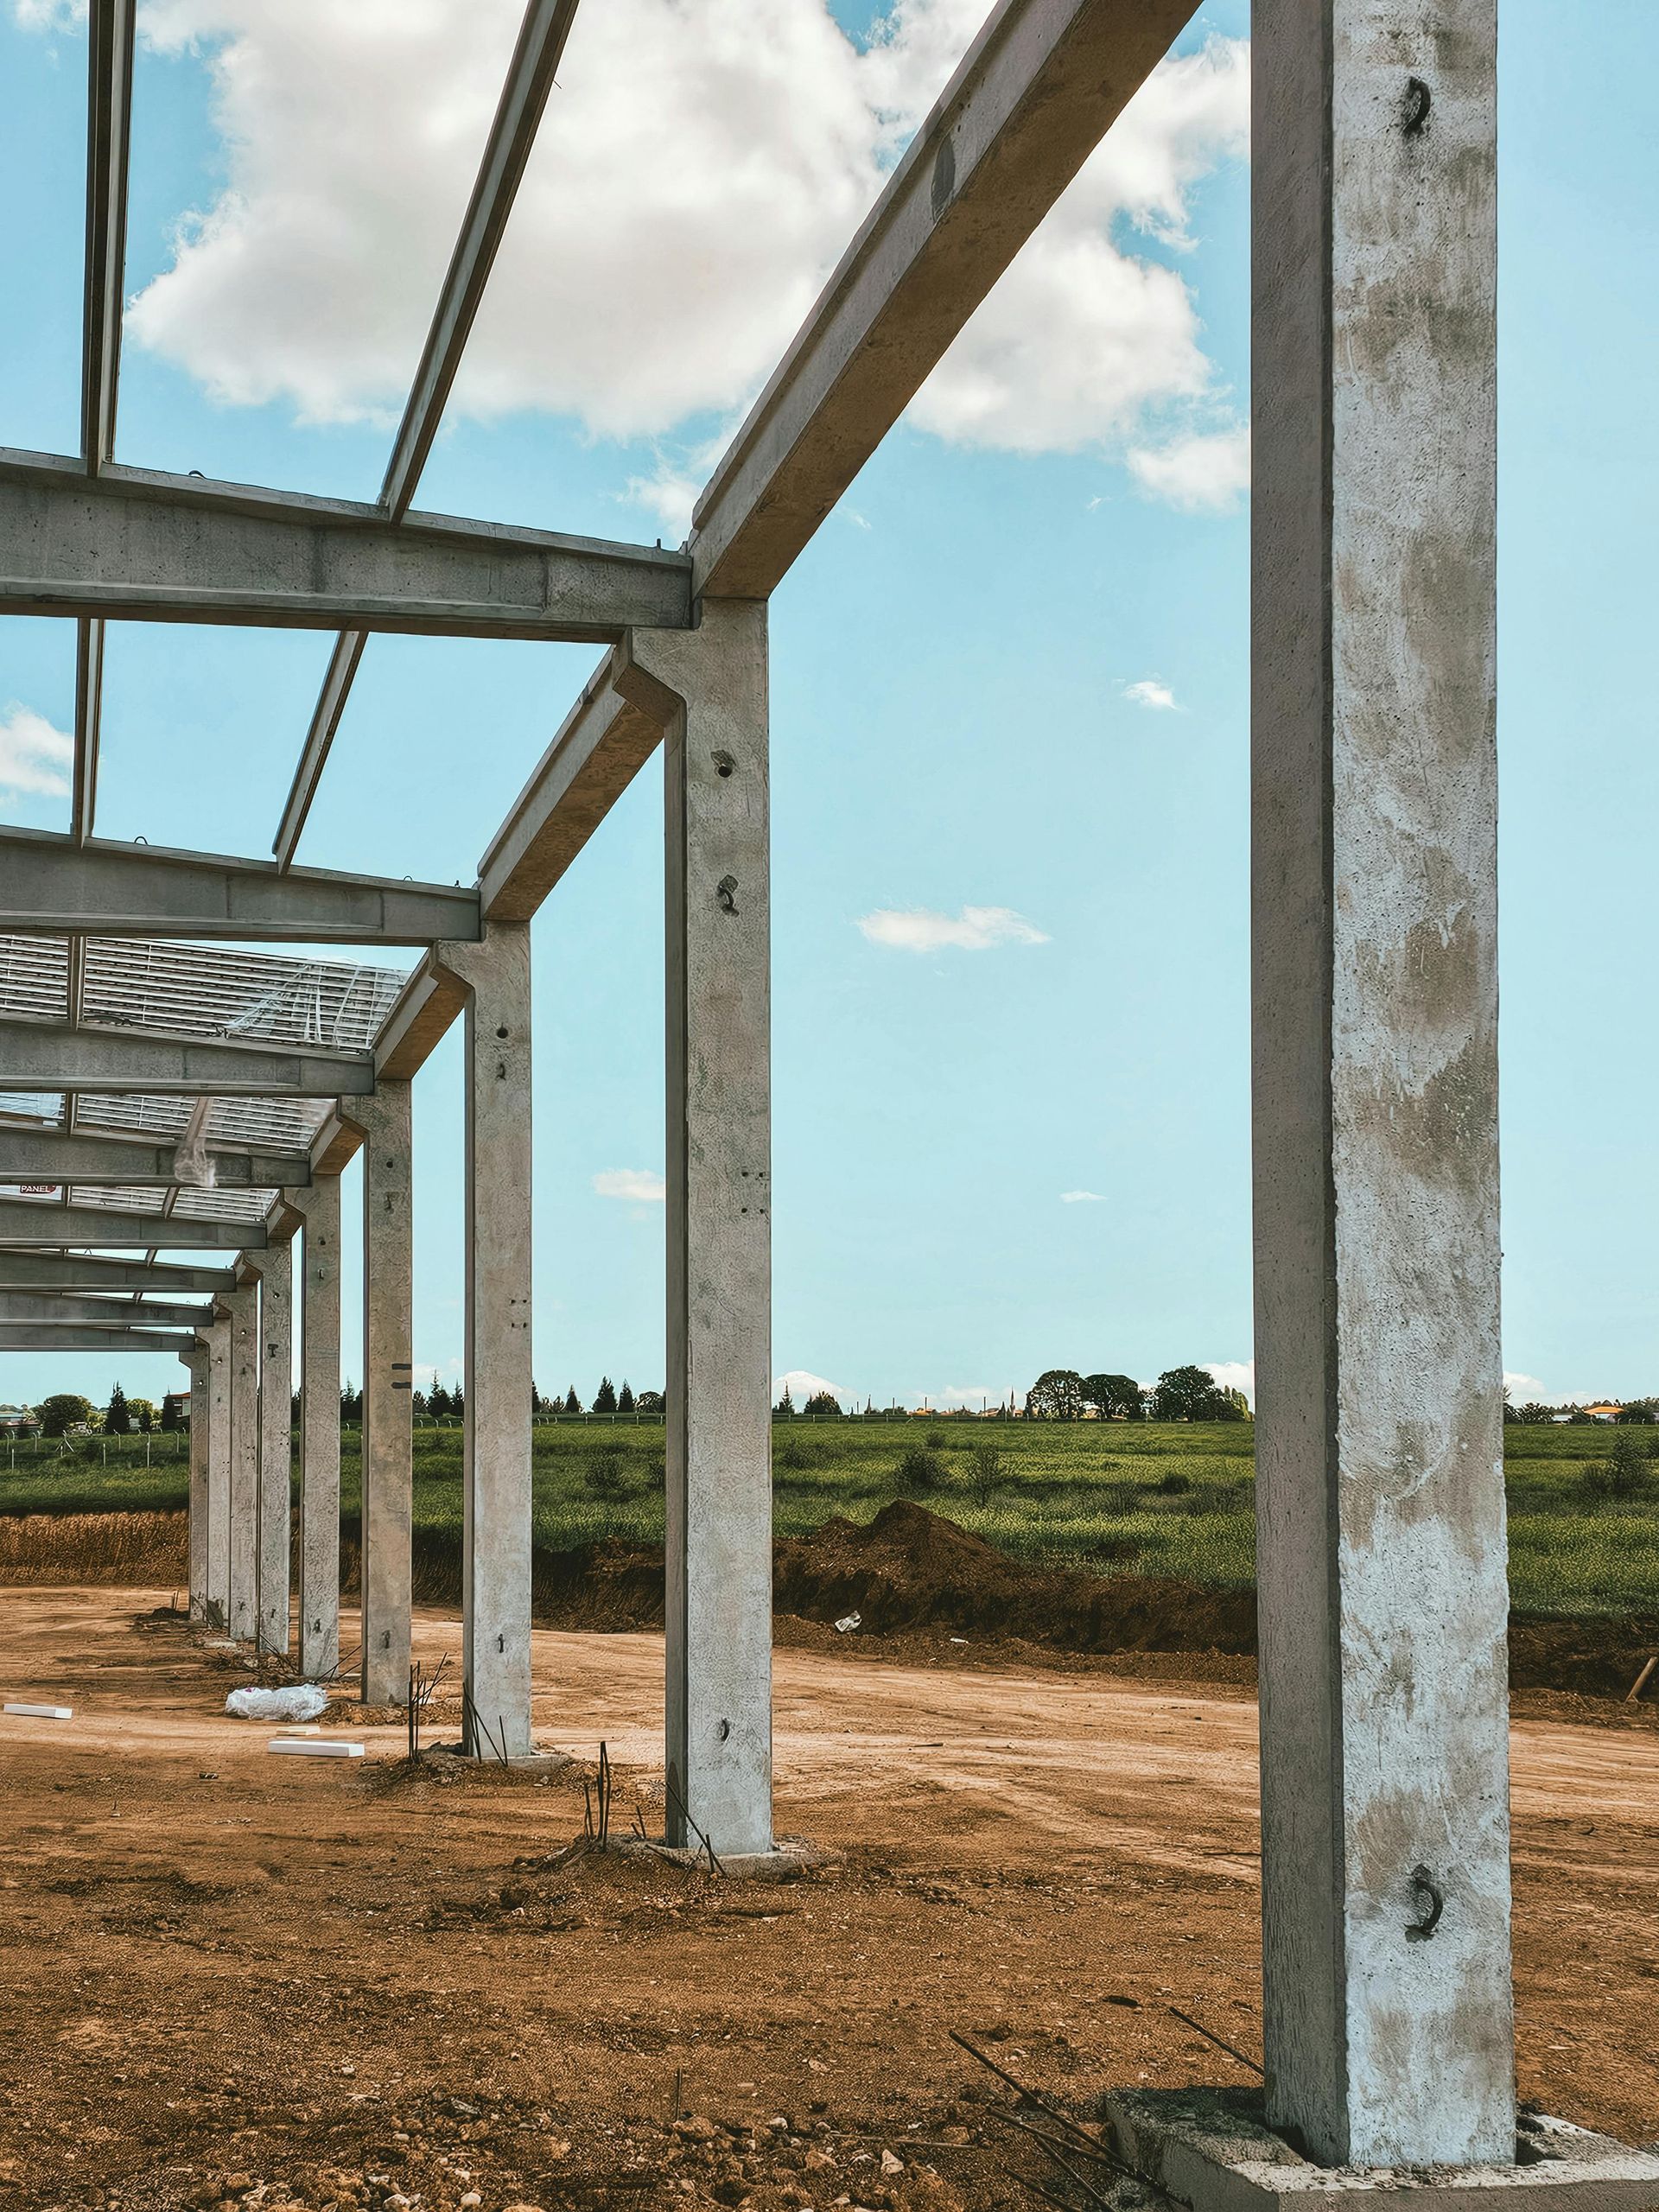
When the renovation crew leaves or the disaster passes, your home isn’t automatically ready for living. Post-restoration cleanup is just as important as the repairs themselves. It removes harmful dust, debris, and contaminants left behind during construction, fire restoration, or flood recovery.

Without proper cleaning:

  • Dust can linger in the air for weeks.
  • Soot and smoke particles may settle into fabrics and furniture.
  • Mold and mildew could grow unnoticed in damp spaces.

A clean home means a healthy, safe, and truly fresh start.

Essential Preparations Before Cleanup Begins

Getting organized before you jump into cleaning can save you hours of frustration later.

Prioritize Safety First

Before you pick up a broom, gear up:

  • Wear gloves, masks, and protective eyewear.
  • Use steel-toed boots and coveralls if you're dealing with flood debris or fire residue.
  • Turn off the electricity when working near damp areas.

Safety always comes first when dealing with post-disaster environments.

Document Damage for Insurance Claims

Take photos and videos of every area before you start cleaning. This helps when filing insurance claims and makes it easier to track the work you've done.

Gather the Right Tools and Supplies

Having everything ready before you start cleaning helps you move faster:

  • Heavy-duty garbage bags
  • HEPA vacuum cleaner
  • Buckets, mops, and brooms
  • Mild cleaners, degreasers, and disinfectants
  • Scrub brushes and microfiber cloths

Make sure you stock up before you dive in.

Step-by-Step Post-Restoration Cleaning Guide

Cleaning after a restoration project isn't the same as routine house cleaning. Here’s a simple roadmap to follow:

  1. Make a checklist:  Write down every room and major task to stay organized.
  2. Start with dusting from top to bottom: Dust ceilings, fans, shelves, and furniture before moving to floors.
  3. Vacuum everything, even walls: Use a HEPA vacuum to capture tiny particles that regular vacuums miss.
  4. Wipe down surfaces with disinfectant: Pay extra attention to kitchens, bathrooms, and high-touch areas.
  5. Mop hard floors thoroughly: Change the mop water often to avoid spreading dirt around.
  6. Deep clean carpets and upholstery: Renting a steam cleaner is a great idea if your carpets were exposed to smoke or water.
  7. Ventilate the space: Open windows and use fans to remove lingering odors and improve air quality.

Step-by-step cleaning helps you avoid missing critical spots and makes the whole project less overwhelming.

Special Focus Areas for Deep Cleaning

Every area matters, but some spots need extra love after a restoration.

Handling Smoke and Soot Residue

Smoke particles cling to everything. To clean smoke damage:

  • Use dry cleaning sponges for walls and ceilings.
  • Avoid water at first, as it can smear soot.
  • Use specialized soot removers or consult a restoration company if needed.

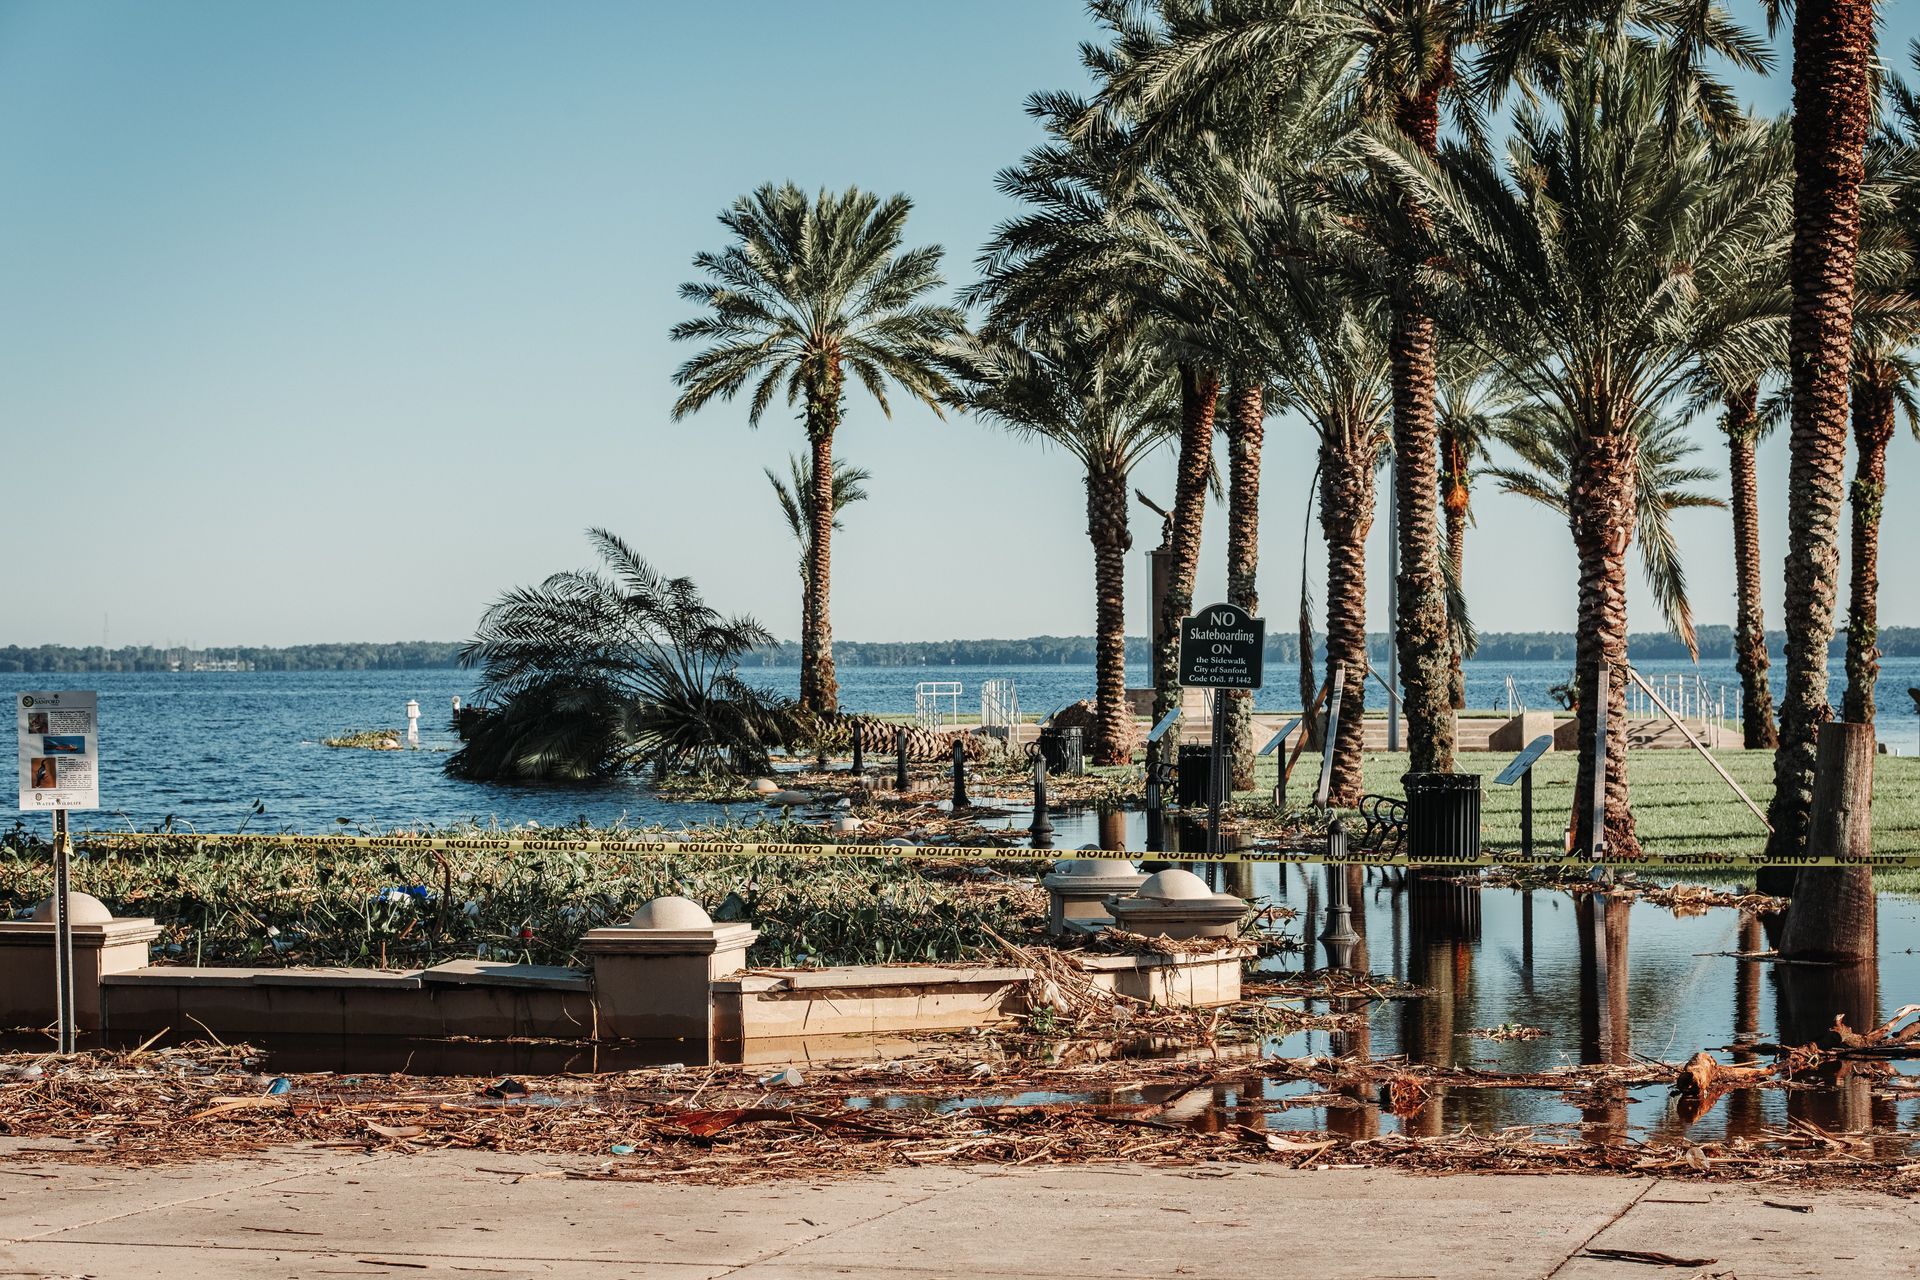
Dealing with Water-Damaged Materials

Water damage invites mold and bacteria. After a flood:

  • Remove and discard porous materials like insulation and drywall.
  • Disinfect hard surfaces with a bleach solution (1 cup bleach to 1 gallon of water).
  • Check hidden spots under the flooring, behind walls, and inside closets.

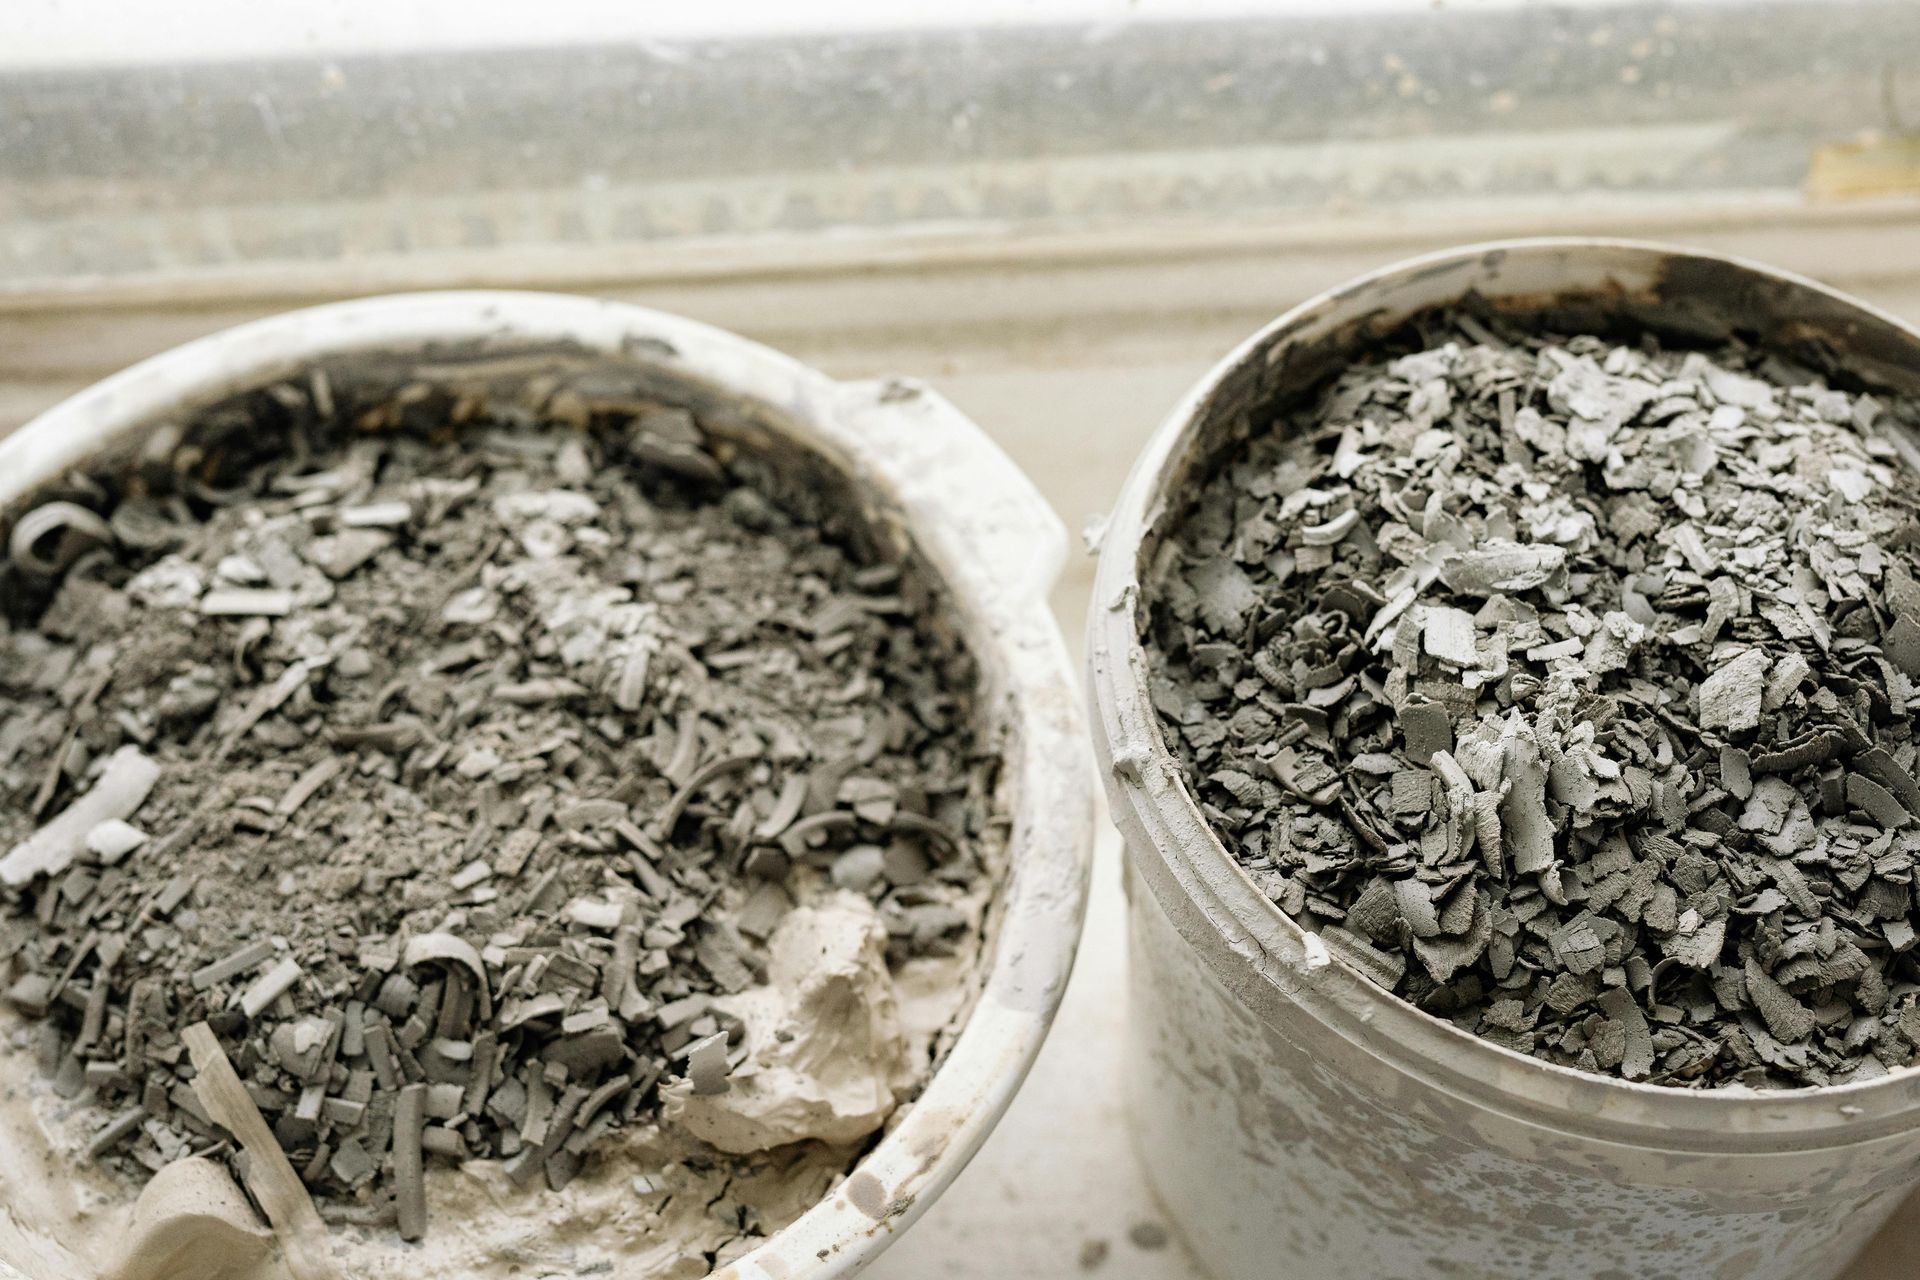
Proper Disposal of Construction Debris

Dispose of renovation debris the right way:

  • Separate recyclables like wood, metal, and concrete.
  • Arrange a pickup or find a local waste disposal site.
  • Never dump hazardous materials like paint or chemicals — use approved disposal services.

For more on proper debris disposal, you can check the EPA's guidelines for disaster debris removal.

Post-Disaster Specific Cleanup Tips

Not all damage is the same. Different types of disasters need different cleanup approaches.

Flood Damage Cleanup Best Practices

  • Dry the area completely within 24–48 hours.
  • Toss out soaked insulation, drywall, and mattresses.
  • Clean with disinfectant to kill bacteria.

Fire and Smoke Damage Recovery Tips

  • Remove soot before using liquid cleaners.
  • Wash textiles like curtains and cushions with specialized cleaners.
  • Repaint walls only after sealing with a smoke odor blocker.

Mold Prevention and Treatment After Water Damage

  • Keep dehumidifiers running for days after visible drying.
  • Scrub visible mold with mold-killing products.
  • Hire a professional for large or stubborn mold issues.

If you're curious about deeper mold removal techniques, the CDC Mold Cleanup Guide is a trusted resource.

Professional vs. DIY Post-Restoration Cleaning

Cleaning up after a disaster sounds doable — until you realize how big the job really is. Sometimes it makes sense to bring in professionals, especially when:

  • Smoke, soot, or mold contamination is severe.
  • Flooding has affected electrical systems and insulation.
  • You need certified sanitization for health reasons.

Sunshine State offers expert post-restoration cleaning services that cover everything from fire damage cleanup to mold removal. They specialize in fast, thorough cleanup, helping homeowners safely move back into their homes without worrying about hidden contaminants. Whether your home suffered from a storm, flood, or fire, Sunshine State can get your space back to clean, healthy living conditions quickly.

Final Steps Before Re-Occupying Your Home

Before you move back into your restored home, check these final boxes:

Conduct a Final Walkthrough

Walk through every room carefully, checking for leftover construction debris, lingering odors, water stains, or any signs of mold or mildew.

Open cabinets, check closets, and inspect less obvious spots like basements and attics.

If anything looks suspicious or unfinished, address it before bringing in your belongings.

Replace Damaged or Non-Salvageable Items

Some items simply can't be saved after water, fire, or smoke damage.

If carpets, upholstered furniture, or insulation still smell, look stained, or feel damp even after cleaning, it's safest to replace them.

Holding onto contaminated items can lead to lingering odors, mold growth, and even health risks for your family.

Test Indoor Air Quality and Safety Systems

  • Replace smoke detectors if damaged.
  • Install fresh air filters.
  • Use an indoor air quality monitor to ensure it’s safe for your family.

Peace of mind comes when you know your home is not just beautiful, but also clean and healthy.

Conclusion

Cleaning after a home restoration isn’t glamorous, but it’s necessary. It clears out hidden risks, brings back the comfort of your living spaces, and lets you enjoy the full results of your renovation or recovery work. You can handle the cleanup yourself or bring in a professional team like Sunshine State to make sure everything is done safely and thoroughly. A proper post-restoration cleanup lays the groundwork for a fresh, healthy start in your renewed home.

Small kitchen with off-white cabinets, a window, and a washing machine. Toilet paper rolls and black cabinets are also present.
By John Belizario January 27, 2026
Transform your small kitchen into an efficient, stylish space with smart storage solutions. Learn expert tips for maximizing every inch, from vertical shelving to custom cabinetry.
White kitchen cabinets and stainless steel refrigerator.
By John Belizario January 23, 2026
Deciding between an open concept or traditional kitchen layout? Discover the pros, cons, and key factors to help you choose the perfect kitchen design for your lifestyle and home.
Elegant bathroom with marble walls, a large mirror, a shower, and a bathtub.
By John Belizario January 19, 2026
Bathroom renovations can feel exciting at first—like you’re finally saying goodbye to that leaky faucet and ‘80s tile. But once the demo starts and you’re knee-deep in design decisions and dust, it’s easy to make mistakes that cost time, money, and your sanity. No matter if you’re taking the DIY route or working with a contractor, knowing what not to do is just as important as knowing what you want. Here’s a look at the most common bathroom remodel mistakes and how you can avoid making them yourself. Why Bathroom Renovation Mistakes Are So Costly It might be one of the smallest rooms in your home, but your bathroom is used daily—often by multiple people. Any functional or design flaw becomes obvious fast. Plus, moisture, plumbing, and electrical elements make bathroom remodels trickier than other rooms. Bathroom mistakes can lead to: Mold or water damage Poor lighting or ventilation Awkward layouts Wasted money on materials that don’t last Mistakes in this space aren’t just inconvenient—they can seriously affect your home's value. Planning and Design Mistakes Getting swept up in Pinterest ideas is fun, but don’t skip the boring (but crucial) planning phase. A good plan sets the foundation for a great result. Here’s where people go wrong: 1. No Budget (or a Vague One) Without a clear budget, you’ll either overspend fast or cut corners in the wrong places. A smart remodel budget should include: Materials Labor Permits Contingency (usually 10–20% for unexpected surprises) Knowing your numbers upfront lets you make confident decisions instead of panicked ones. 2. Rushing the Design Process Take your time with measurements, layout, and fixture selections. Rushing leads to poor fit, mismatched items, or regretting your tile choice once it’s already installed. Sketch it out. Use design software. Or better yet, consult with a pro who can help you visualize the final look. 3. No Design Theme Trying to combine farmhouse, modern, and boho styles all in one small space is a recipe for visual chaos. Pick a design direction and stick to it. This could mean: Neutral and spa-like Bold and moody Coastal and breezy Create a moodboard with your colors, materials, and textures so everything feels intentional. Tile and Material Mistakes Tile is often the star of the bathroom—but it’s also one of the trickiest elements to get right. What to Avoid: Buying tile too early (you might need more and get a mismatched batch) Choosing high-maintenance grout colors (white grout gets dirty fast) Using slick tiles on the floor (hello, slip hazard) Large-format porcelain tiles are usually the easiest to clean and maintain. If you're considering something more decorative, like mosaic or marble, limit it to an accent wall or backsplash. Before you order, check the tile’s Area of Use. Some tiles are only approved for walls, not floors. Learn more about tile ratings from this guide . Storage and Layout Errors A beautiful bathroom means nothing if there’s nowhere to stash your towels or toilet paper. Avoid: Minimal storage in favor of aesthetics Giant vanities that hog all the space Doors that swing into tight spots Better options: Recessed medicine cabinets Floating vanities for an open feel Built-in shelving in dead corners If your bathroom has limited square footage, use vertical space and opt for multi-purpose items like mirrors with hidden storage. Shower and Bathtub Installation Pitfalls Showers and tubs are where functionality often clashes with design trends. They may look stunning in showrooms or on Instagram, but not every stylish feature works well in everyday life. Here are some common regrets: Rain showerheads : They look luxurious, but many people find the straight-down water flow limiting and less effective for rinsing. They often lack water pressure and coverage compared to traditional angled showerheads. Open showers: Sleek and modern, but in colder climates they can feel drafty and uncomfortable—especially without a door to trap steam and warmth. Oversized soaking tubs : Deep and dramatic, but they can easily exceed your water heater’s capacity, leaving you with a lukewarm bath instead of a relaxing soak. Make sure you know: Your tub’s gallon capacity Your water heater’s size Whether your shower hardware can split pressure evenly across multiple heads An open, doorless shower may work in Florida, but not so much in Minnesota. And placing the shower controls where you have to step in to turn them on? That’s a daily annoyance waiting to happen. Lighting and Ventilation Mistakes Bad lighting = bad vibes and bad grooming. Here is what works: Ambient lighting : Ceiling lights or LED strips for general brightness Task lighting : Vanity lights or sconces at eye level Accent lighting : A pendant light over the tub or niche lighting in the shower Avoid just relying on a single ceiling light. It creates shadows and makes tasks like shaving or applying makeup harder. Also, don’t forget about ventilation. A good exhaust fan prevents moisture buildup, mold, and mirror fog. Consider a timer switch or humidity sensor for maximum efficiency. Heated Floors and Smart Upgrades A heated bathroom floor is one of those things you don’t realize you need until you try it. It’s especially helpful if you have tile floors and cold winters. For even more comfort: Extend the heating to the shower floor Coordinate carefully between the electrician and tile installer Choose a system with a warranty and accessible controls You can also install heating mats between joists from below, which makes future repairs easier. When DIY Goes Wrong It’s tempting to save money by doing the work yourself, but bathrooms are not the place to experiment unless you’re really experienced. Here’s what DIYers often mess up: Improper waterproofing (which leads to mold behind tile) Bad tile cuts or spacing Misplaced plumbing fixtures Uneven floors or vanity installation Sometimes it's cheaper in the long run to hire professionals. That’s where Sunshine State comes in. Based in Florida, they specialize in high-quality, stress-free home improvement projects, including complete bathroom remodels. Their team can handle everything from demolition and plumbing to tile work, lighting, and fixture installation—saving you time, preventing costly errors, and making sure your vision becomes reality. Whether you're going for a modern minimalist look or a cozy spa-like retreat, Sunshine State works with you every step of the way. Their attention to detail and use of durable, moisture-resistant materials ensure your bathroom will not only look great but also stand up to daily use for years to come. Toilet Placement and Accessibility The toilet might not be the most glamorous feature, but poor placement can create a lot of discomfort. Make sure to watch out for: Cramped toilet “closets” that are hard to clean or access in emergencies Toilets that are too close to vanities or tubs No outlets for future bidet upgrades Also, consider accessibility for aging in place or hosting elderly relatives. Features to think about: Walk-in showers with grab bars and hand-held showerheads Wider doorways Lever handles instead of knobs ADA-compliant fixture heights A little foresight goes a long way in making your bathroom safe and usable for everyone. Choosing the Wrong Paint and Finishes Bathrooms deal with steam, splashes, and daily wear and tear. Avoid: Flat or matte paint (shows every splash and fingerprint) Beadboard with deep grooves (hard to clean) Trendy finishes that don’t age well Go for semi-gloss or satin paint finishes that repel moisture. Choose durable materials like porcelain or sealed stone, and don’t forget to seal your grout lines. Conclusion A bathroom remodel is a big investment. To get the most out of it: Set a realistic budget Plan your design and layout carefully Use high-quality, water-resistant materials Think ahead about lighting, heating, and accessibility Ready to remodel without the regrets? Sunshine State is your trusted partner for bathroom renovations done right. From custom tile work to expert plumbing and smart design solutions, they’ll help you create a space that suits your lifestyle!
Person wearing hard hat and gloves installing molding on a white wall near a window.
By John Belizario January 11, 2026
Discover smart energy-efficient options for ADU builds that lower utility bills and boost sustainability. Learn about strategies to create a high-performing ADUs.
June 25, 2025
Accessory Dwelling Units (ADUs) are changing the way people think about living space. These compact, independent structures aren't just an add-on to your backyard—they're a flexible solution for modern homeowners. You can turn an ADU into a guest suite, use it as a dedicated office, rent it out for extra income, or even provide private quarters for a loved one. ADUs are more than just a trend—they're a smart way to add function, value, and versatility to your property. Read on to discover how an ADU can meet your evolving needs and why more people are embracing this powerful housing solution.
June 18, 2025
Accessory Dwelling Units, or ADUs, are small, self-contained homes built on the same lot as a primary residence. They can be detached, attached, or even converted from garages or basements. ADUs have gained popularity as flexible, functional solutions for extended family, rental income, or remote workspaces. A well-designed ADU depends on its floor plan and layout, so understanding the common designs can help you make the right decisions for your space, budget, and goals. In this article, we’ll break down popular ADU layouts and what to consider when choosing the right one—so you can build smarter and maximize your investment. Keep reading to find the best fit for your needs.
A living room with a couch , table , chairs and potted plants.
June 11, 2025
Curious about the ROI of building an ADU? Discover how accessory dwelling units can generate rental income and boost your property’s value.
A screened in porch with a couch , table , chairs and a ceiling fan.
June 5, 2025
Thinking about a sunroom addition? Explore costs, design ideas, and the benefits of adding a bright, relaxing space to your home.
A bathroom with a tub , sink , and shower.
May 27, 2025
Choosing between a walk-in shower and a bathtub? Compare the benefits of both to find the best option for comfort, accessibility, and style.
A blue house with a green house in the background
By John Belizario May 20, 2025
Debating between a detached or attached ADU? Compare the pros, cons, costs, and design flexibility to choose the best fit for your property.